Return back to Project Overview (Hailfire Droid).
Return back to Project Overview (Constructor).
Sup guys! I know it has been a while since my last post about my Lego® projects. A lot of the work on my Constructor and Hailfire Droid were kept hidden until I found it was worthy to post it on my blog. I'm still not covering all details on this post, since I'm really picky about telling my specs until I finished them.
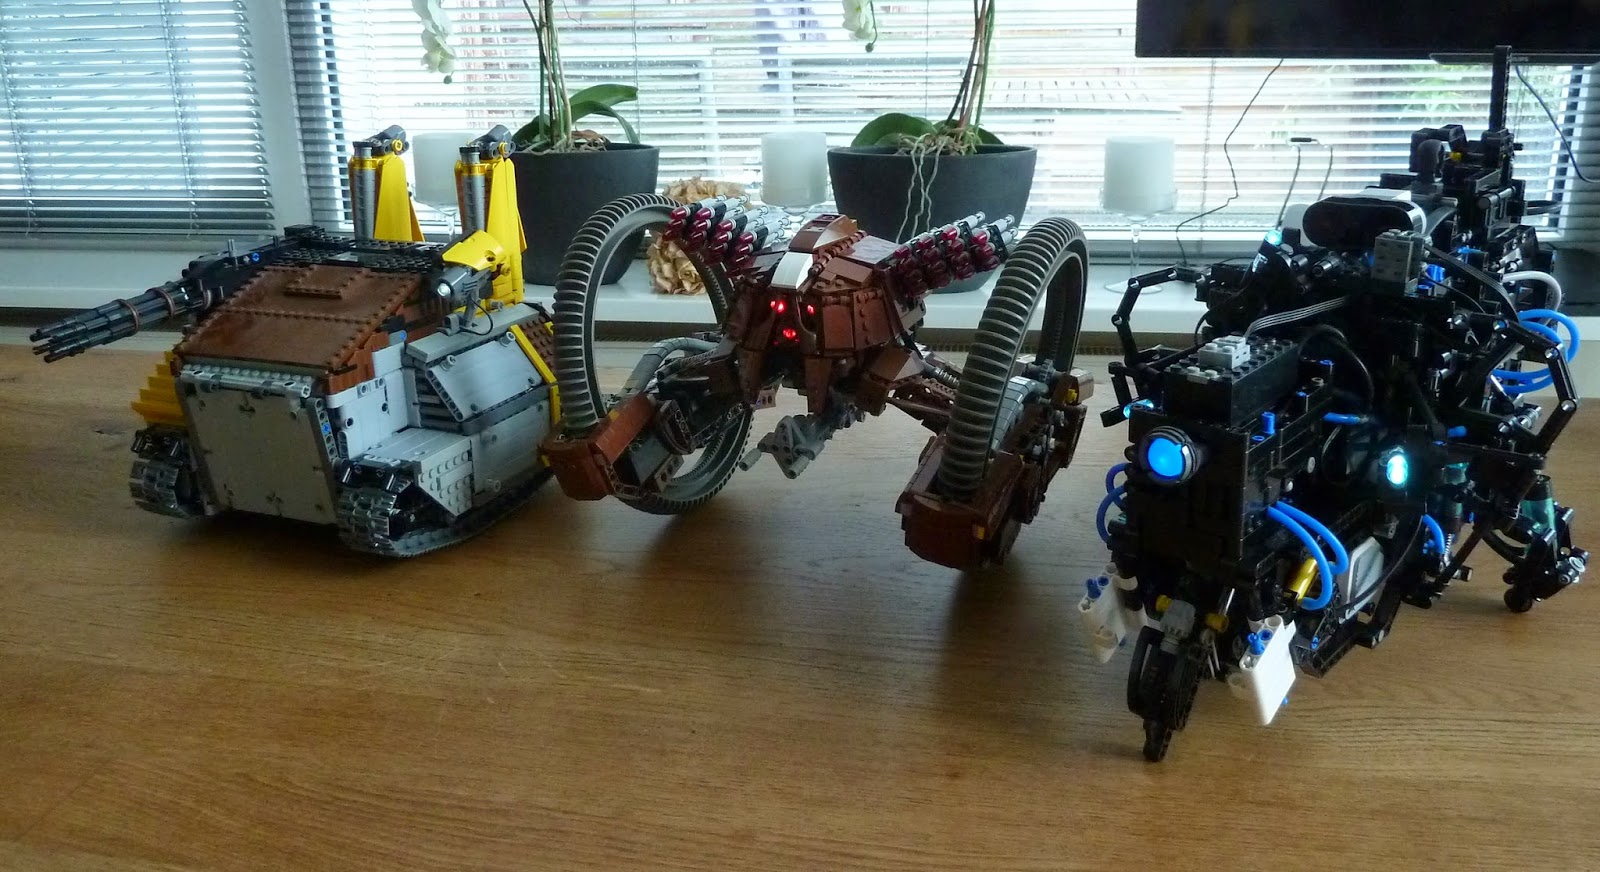
I couldn't work on my projects that often since I had school and work (y'know, I gotta have to get my funds for my projects somewhere), but I finally managed to make some decent process, especially with the Constructor. The Constructor now fully pumps itself through the Mindstorms EV3 brain, and it can be controlled by a IR Controller.
In previous versions, I had multiple issues with filling the Constructor's air flow. It seemed that even using the strongest Lego® motors to date couldn't afford the torque strength to fill the entire system with a whopping three (!) bar - manually (human strength) it had no issues at all, so there was a real challenge for enabling automation.
Unfortunately, since the Constructor weighs more than two (!) kilograms, I often struggled with the limitations of Lego® pneumatics. In order to succeed this project, I had to drop the driving ability of the Constructor. By doing that, I could manage to use three Lego® Mindstorms Servo, instead of one.
About dropping the driving ability... Fortunately, since the Constructor uses multiple metal spheres as wheels, you can roll it on the table on any direction which you want! Because of its weight, the Constructor will still remain solid on the table.
The air flow has been changed multiple times - the original iteration would've used only one air flow. Since I have tripled the amount of cylinders by now, using one air flow would've been not feasible. Currently the Constructor has three air flows.
The Hailfire Droid hasn't been changed that much, however I did some balance tweaks and made some progress with the body. I've figured out how I want to manage the side panels. The white highlight on its head is just a temporary colour, since that part hasn't been made in (Reddish) Brown yet as of today.
That's it for today - see you again next post!
Return back to Project Overview (Constructor).
I couldn't work on my projects that often since I had school and work (y'know, I gotta have to get my funds for my projects somewhere), but I finally managed to make some decent process, especially with the Constructor. The Constructor now fully pumps itself through the Mindstorms EV3 brain, and it can be controlled by a IR Controller.
In previous versions, I had multiple issues with filling the Constructor's air flow. It seemed that even using the strongest Lego® motors to date couldn't afford the torque strength to fill the entire system with a whopping three (!) bar - manually (human strength) it had no issues at all, so there was a real challenge for enabling automation.
Unfortunately, since the Constructor weighs more than two (!) kilograms, I often struggled with the limitations of Lego® pneumatics. In order to succeed this project, I had to drop the driving ability of the Constructor. By doing that, I could manage to use three Lego® Mindstorms Servo, instead of one.
About dropping the driving ability... Fortunately, since the Constructor uses multiple metal spheres as wheels, you can roll it on the table on any direction which you want! Because of its weight, the Constructor will still remain solid on the table.
The air flow has been changed multiple times - the original iteration would've used only one air flow. Since I have tripled the amount of cylinders by now, using one air flow would've been not feasible. Currently the Constructor has three air flows.
The Hailfire Droid hasn't been changed that much, however I did some balance tweaks and made some progress with the body. I've figured out how I want to manage the side panels. The white highlight on its head is just a temporary colour, since that part hasn't been made in (Reddish) Brown yet as of today.
That's it for today - see you again next post!

No comments:
Post a Comment